Accreditations:
Analytical service examples
Quality control
Uncovering internal flaws
Surface coating
Analyzing electronic components
Component counterfeiting
Component evaluation
Component qualification
Testing construction materials
Mechanical characterization
Metallography
Fractography
Methods applied
Acoustic microscopy (SAM)
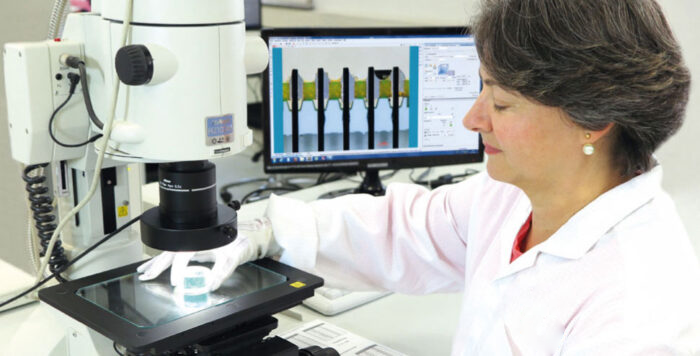
Light microscopy
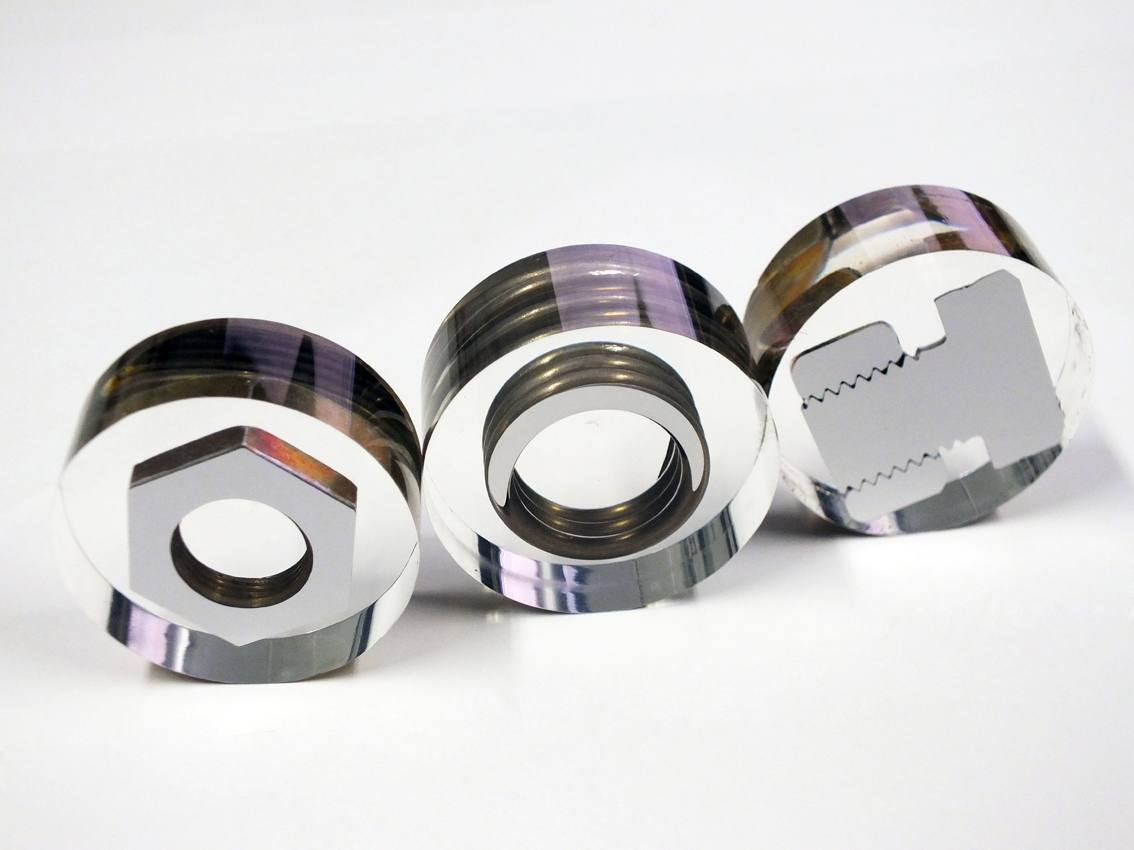
Micro sectioning/ion ray etching
MetaFinePrep®
2D/3D x-ray tomography (CT)
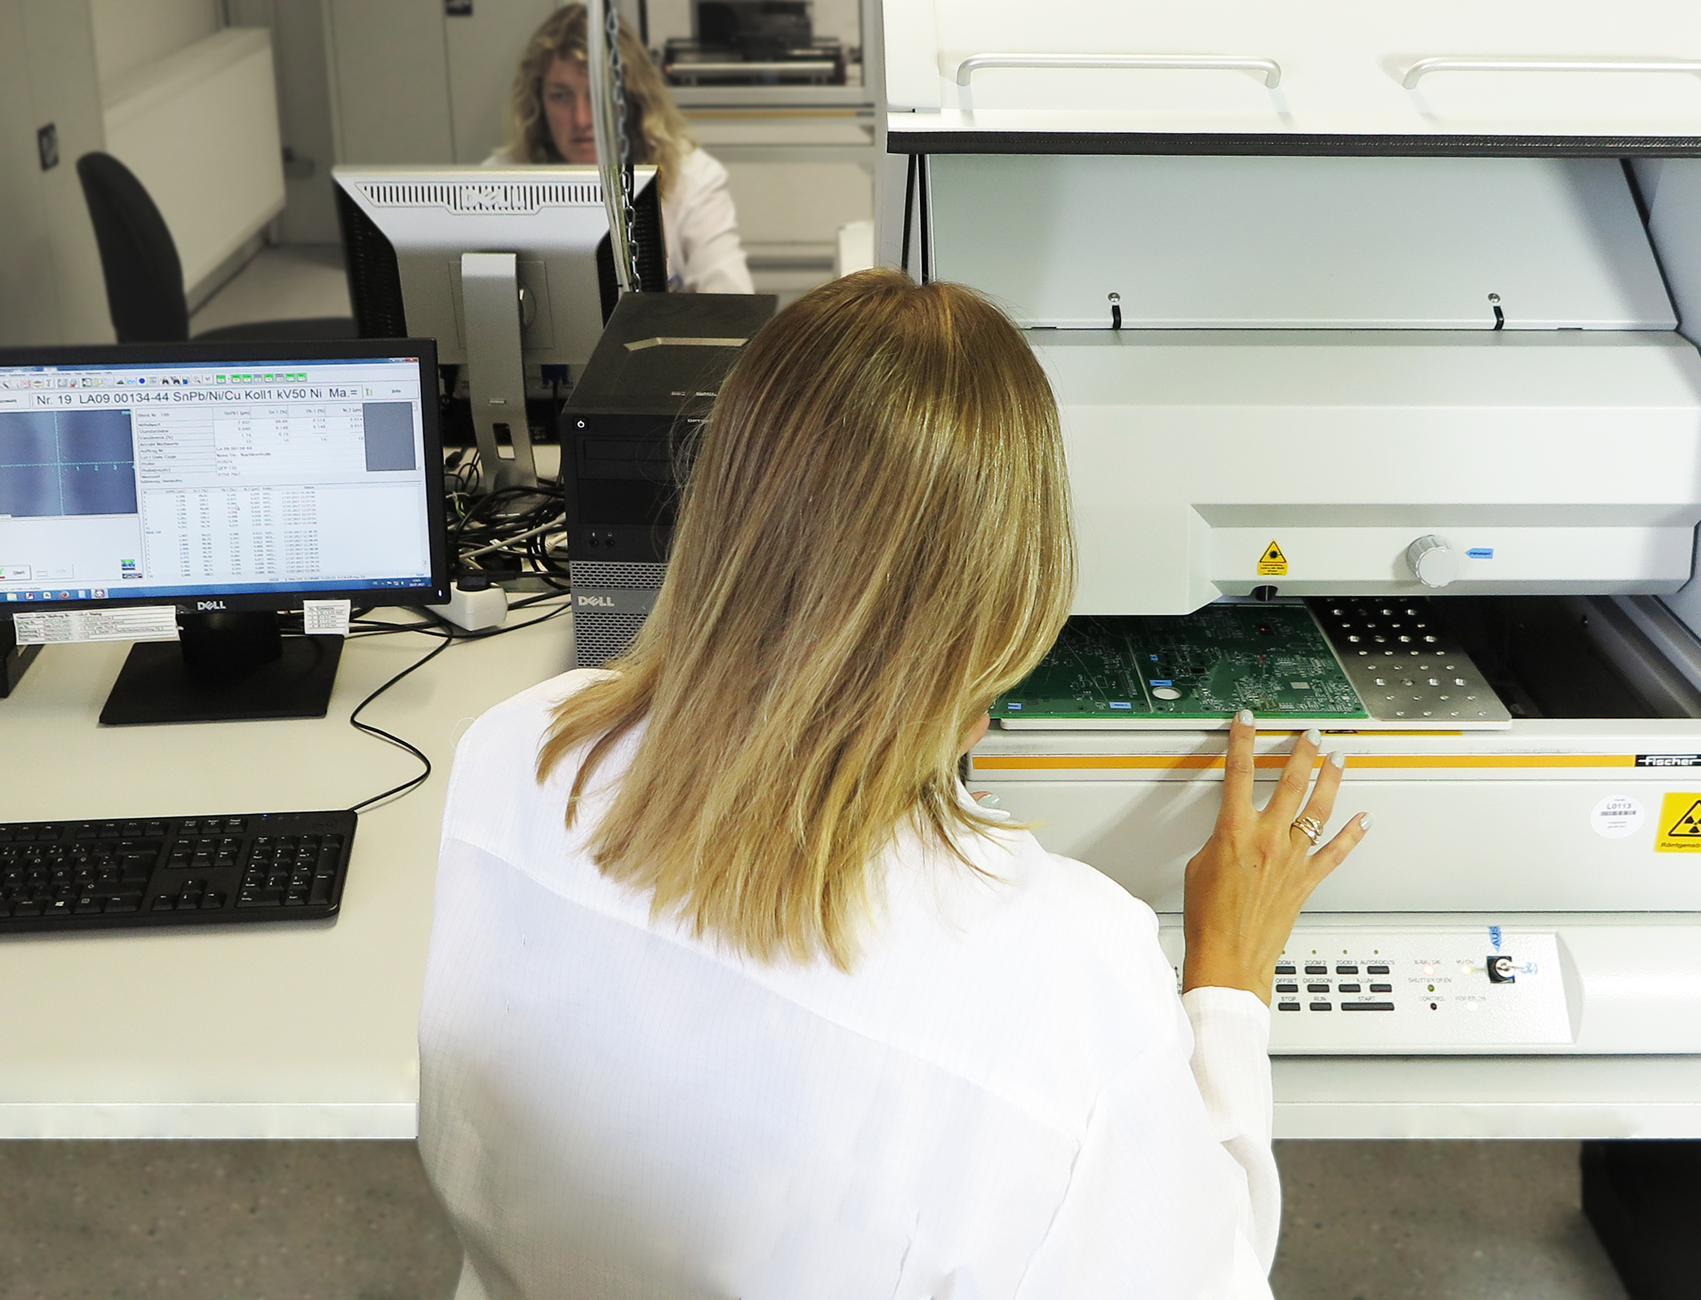
X-ray fluorescence analysis (XFA)
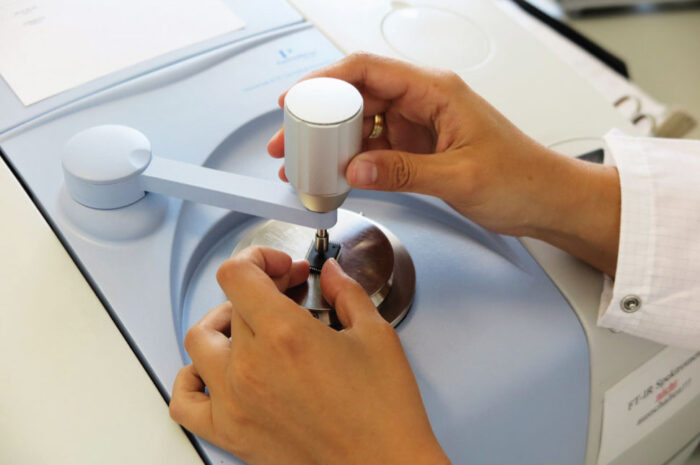
FTIR-Spectroscopy
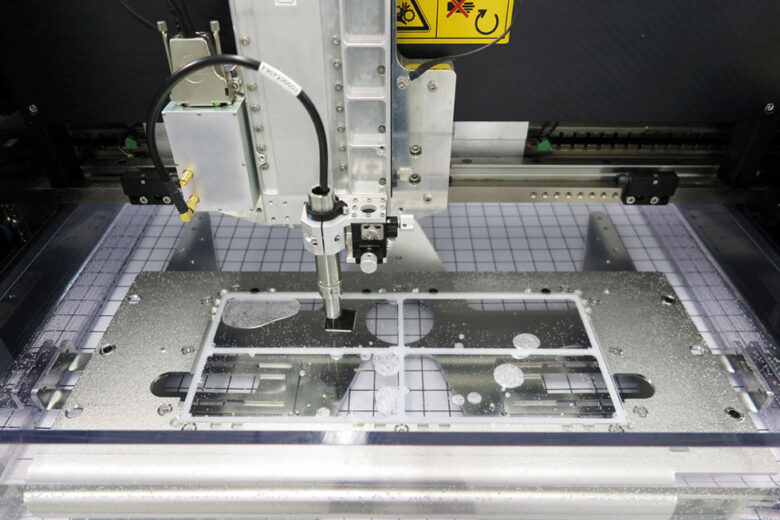
Fully automatic solderability test
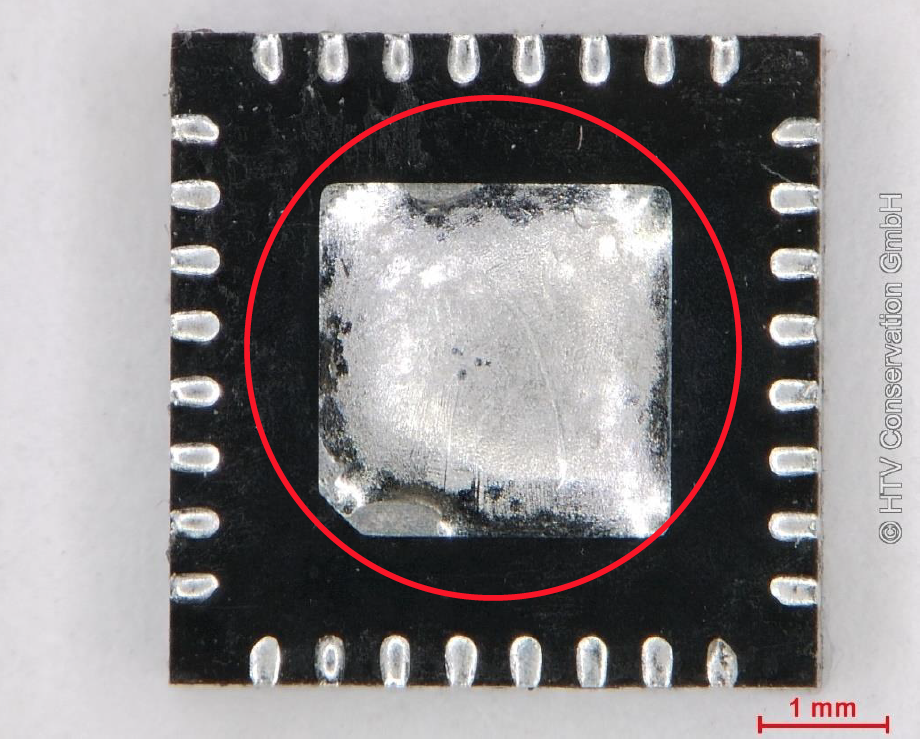
Component decapsulation
Nanoindentation
Dye & Pull Test
Analytical service application examples
Quality control
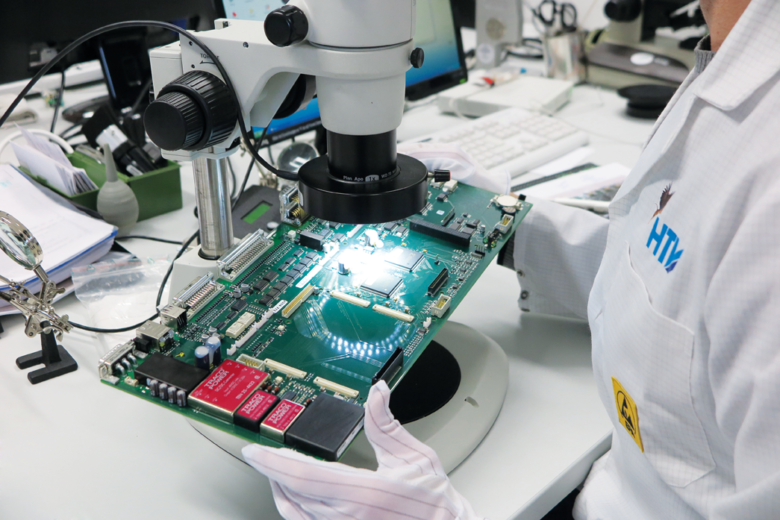
Quality control is a key element of every value creation process, ranging from inspecting goods upon arrival to quality control during the manufacturing process. Deviations in quality, as are usually found in very small and cheap components, may lead to extremely expensive consequential costs further down the line, if installed in a complex system. Knowledge of each individual component’s quality is vital, especially in regards of reducing carbon dioxide emissions in the manufacturing process. Just installing a small amount of inferior resistors, a handful if you will, can turn any complex system into several metric tons of electronic scrap. To prevent such a hypothetical scenario from becoming a costly reality, HTV’s Institute for Material Analysis can provide you with a multitude of standardized or specifically customized analysis methods. We will use every method available and applicable for this purpose, for example:
- Nanoindentation to evaluate the strength class of screws
- XRF analysis to ascertain the layer thickness of metallic anti-corrosion coatings
- FTIR spectroscopy to measure the comparative composition of plastics
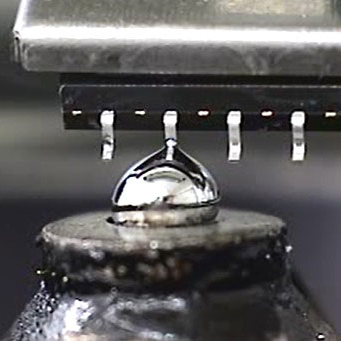
- Solderability testing to ascertain the solderability of electronic components
- Component decapsulation to ascertain if the correct circuit has been integrated into the electronic component
Uncovering internal flaws
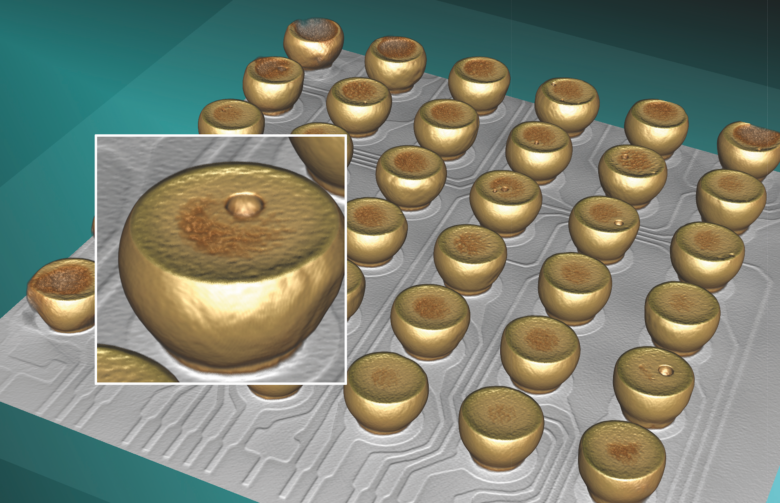
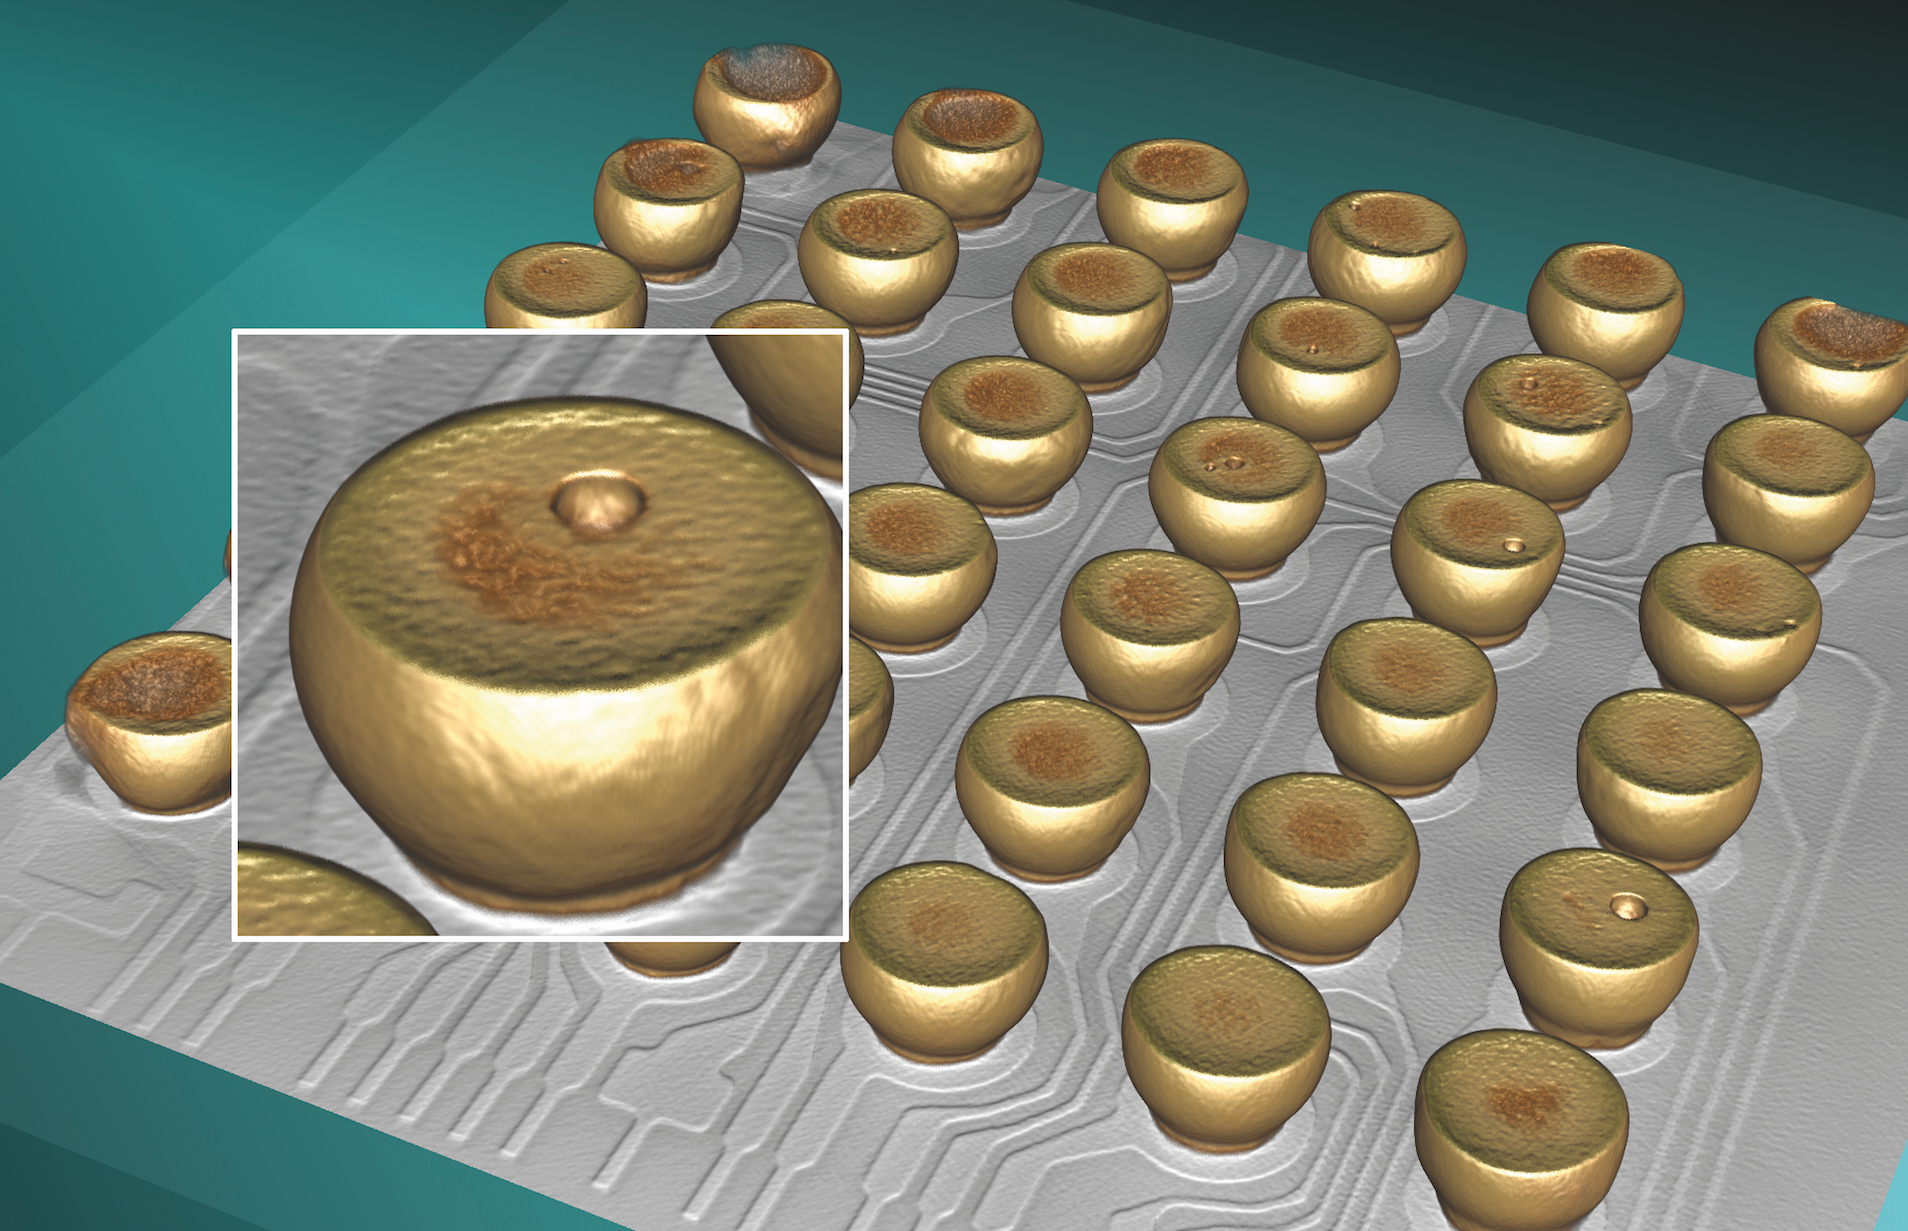
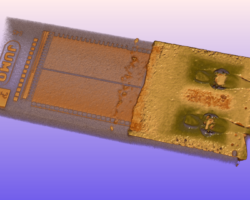
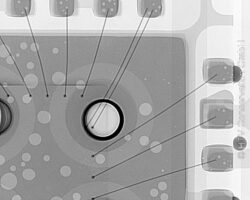
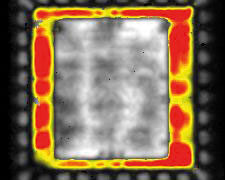
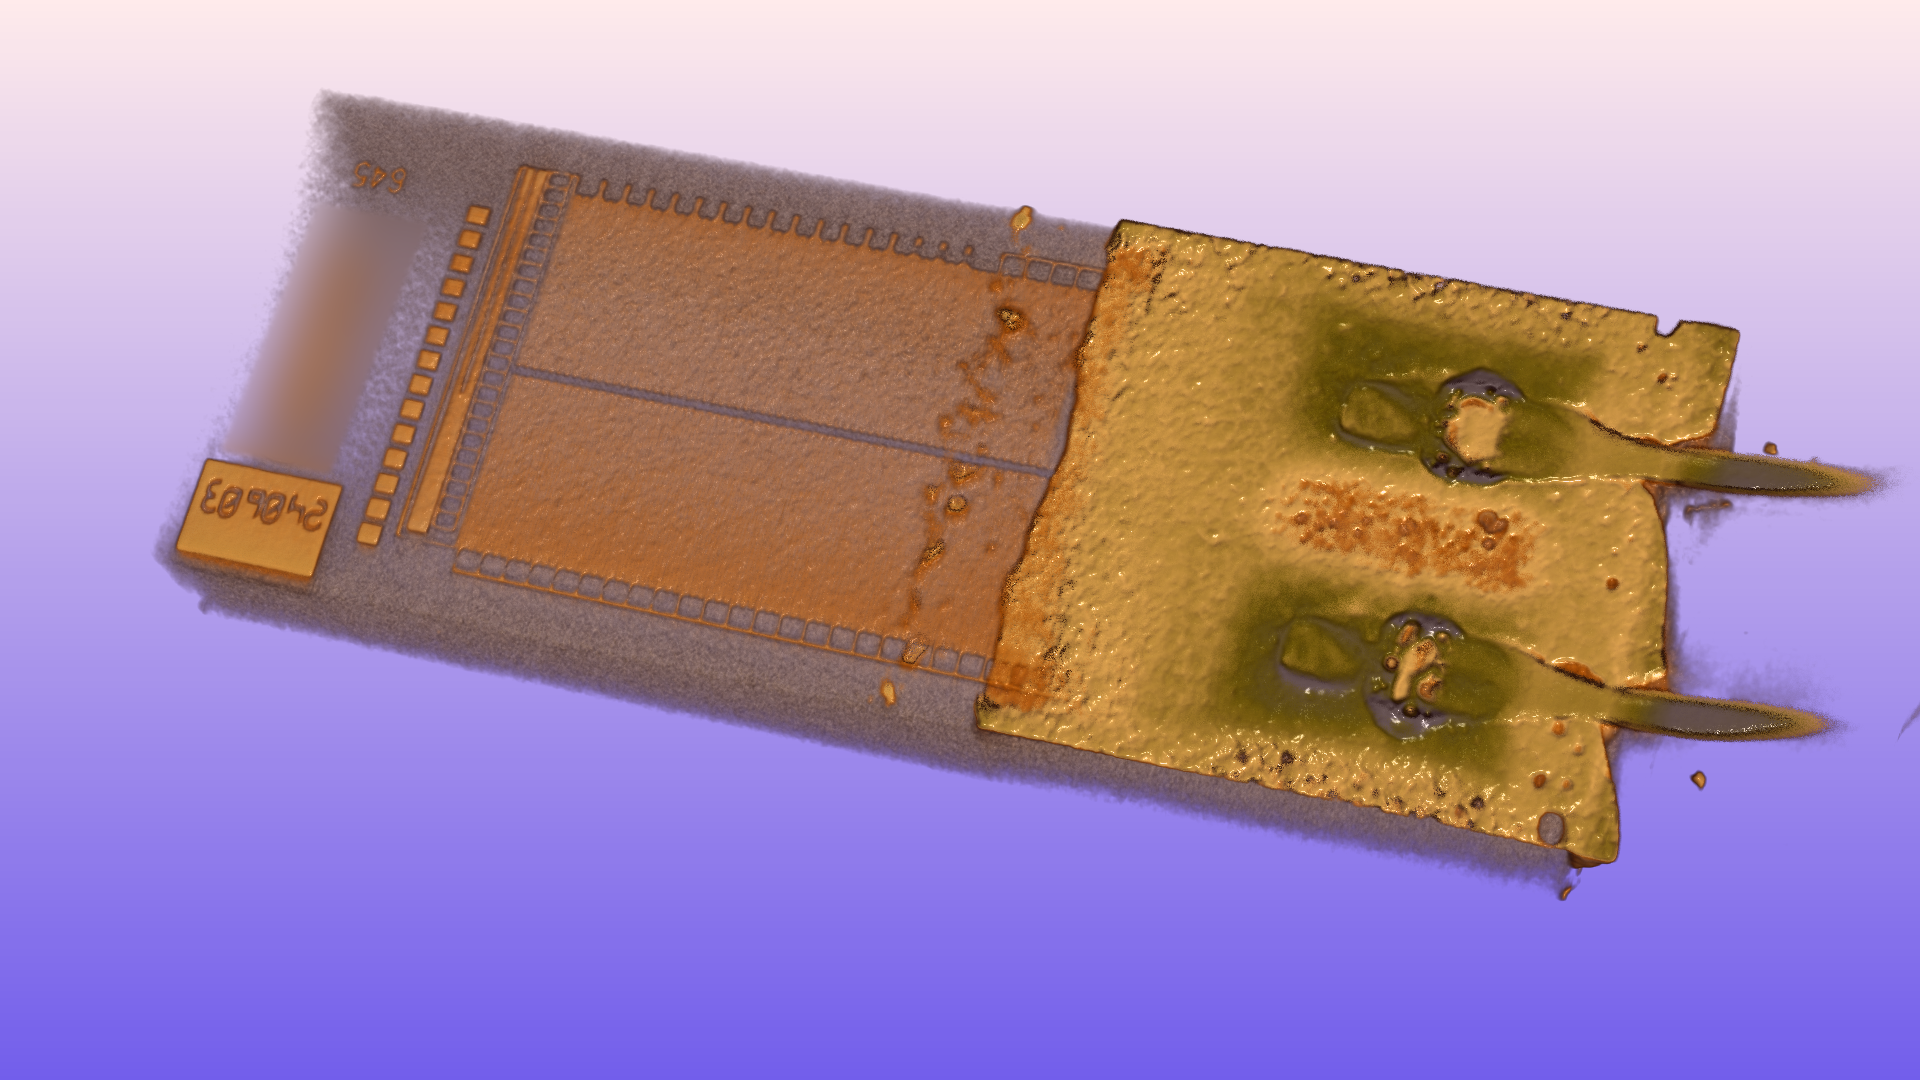
Components’ inner characteristics are an essential influence on any product’s functionality and reliability. In order to evaluate this and uncover potential flaws, we mainly use our non-invasive analysis methods, like x-ray tomography and acoustic microscopy, which can uncover such flaws as fractures, cavities or delaminations. An x-ray tomography can even uncover whether or not bond wires are present inside a component.
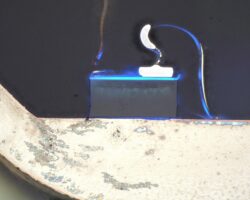
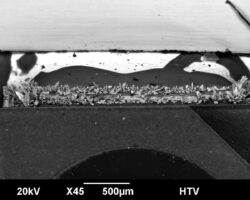
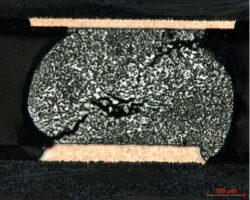
Just as often, however, it is useful to combine the non-invasive analysis with more invasive methods, such as micro section examination, in order to get a more detailed characterization of solder joint fractures, bonding flaws, blowholes or cavities, or to identify an integrated circuit via decapsulation.
Surface coating

A component’s surface is always in direct contact with its’ surrounding medium, which makes a multitude of functionalities and usage properties dependant on said surface. Ranging from corrosion protection up to the solderability of tin plated leads, essential surface coating parameters are layer strength, composition and homogeneity.
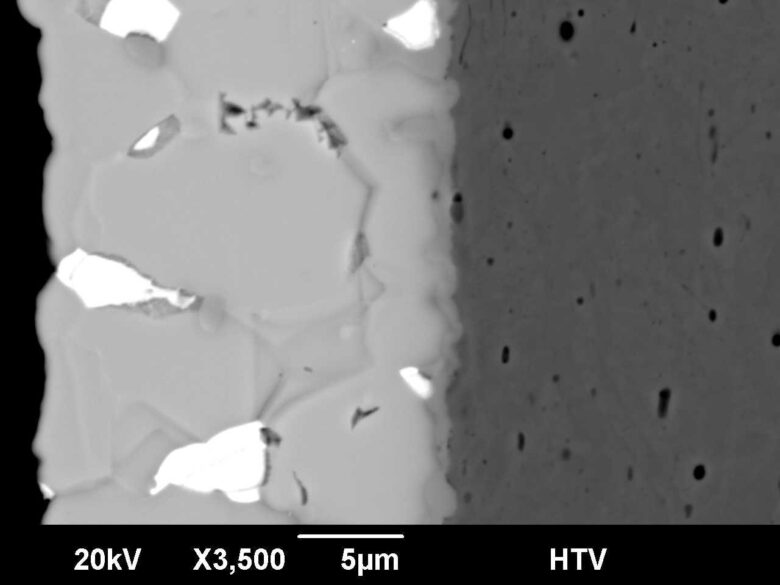
The layer strength may be ascertained non-invasively with an XRF analysis or invasively with a micro section analysis. A layer’s composition may be ascertained with an XRF analysis as well, but only up to a point, at which it becomes necessary to apply an REM/EDX analysis. Optical microscopy is used to analyze and ascertain a surface coating’s homogeneity.
Analyzing electronic components
Detecting component counterfeiting
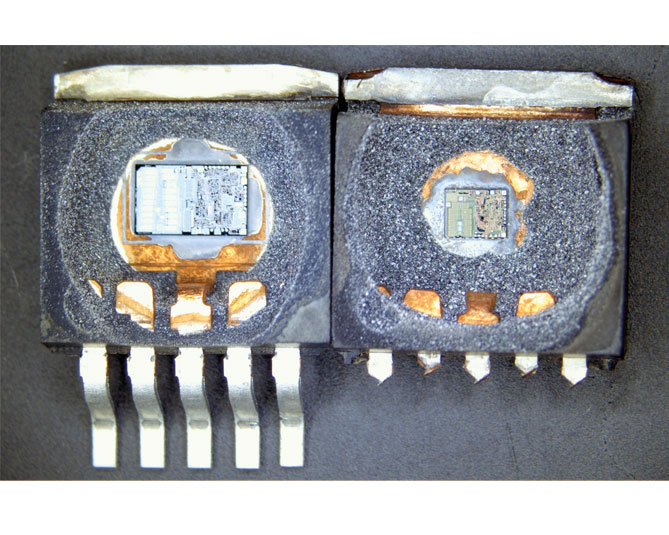
In these times of critical semiconductor shortage there is a much higher risk of receiving counterfeited components. Non-transparent delivery routes make it impossible to fully ascertain whether the delivered product truly originates from the claimed manufacturer. In addition to the rising number of tampered components on the market, the counterfeiters are improving their methods, which are thus becoming harder to detect. In order to uncover component counterfeiting, the HTV Institute for Material Analysis employs every method in its arsenal, testing in accordance with JEDEC, aerospace standards and even military standards. A few examples:
- An x-ray analysis ascertains size and presence of an integrated circuit
- Delaminations, which may indicate a preceding soldering, and hidden labeling are analyzed via acoustic microscopy
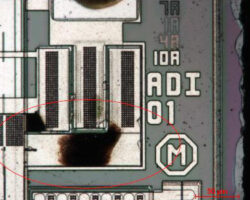
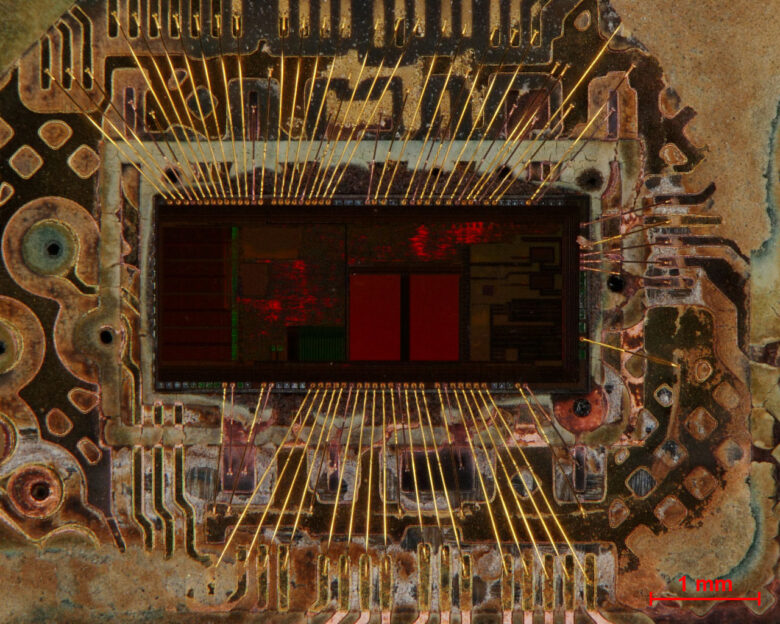
- Decapsulation is used to ascertain whether the integrated circuit fits the labeling
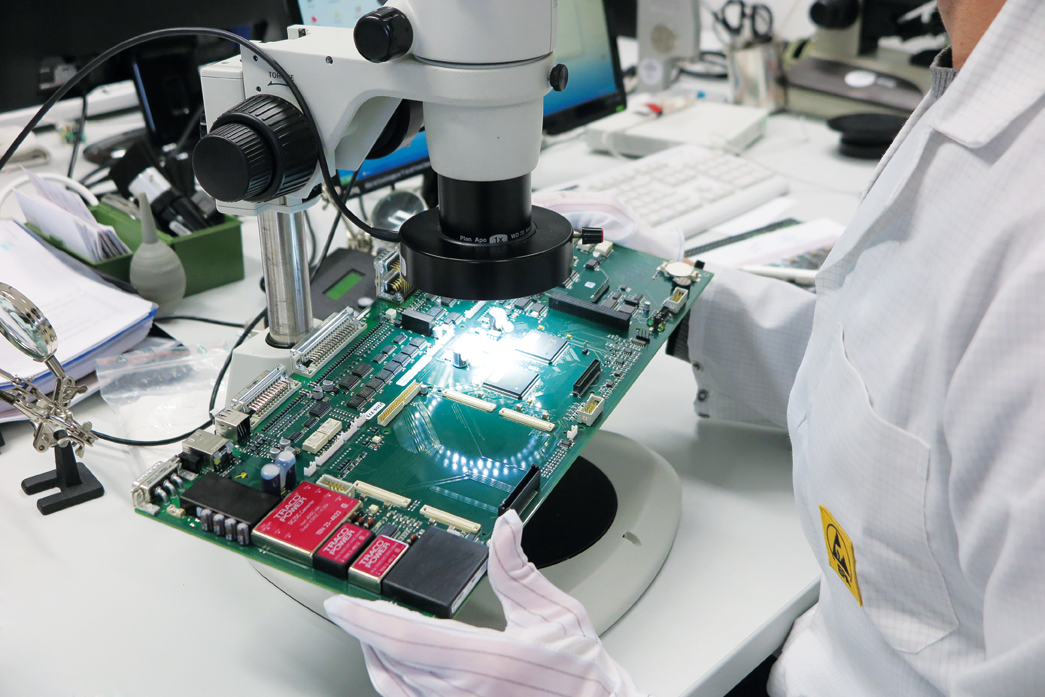
- Our optical microscopy analyzes forged component labeling and retinning
Component evaluation
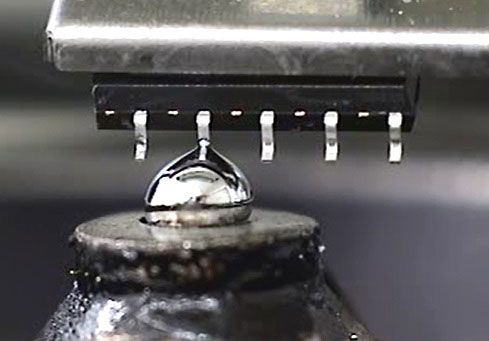
Evaluating a component’s condition and thus its processability is an essential part of HTV Conservation.
Optical microscopy analysis can ascertain whether a surface has oxidized or corroded. Upon finding corrosion or reaction products, even during a flaw analysis, their chemical composition is then ascertained via an REM/EDX analysis. The solderability of unprocessed components is an essential part of component evaluation and can be ascertained with a solderability test.
FTIR spectroscopy is used to analyze the individual composition of organic materials like plastics. Said composition is basically a highly distinctive fingerprint and can be compared with different samples in order to ascertain mix-ups or aging effects. If the evaluation proves that the components are in perfect condition, we can preserve them with our long-term storage method for up to 50 years.
Assembly and component qualification
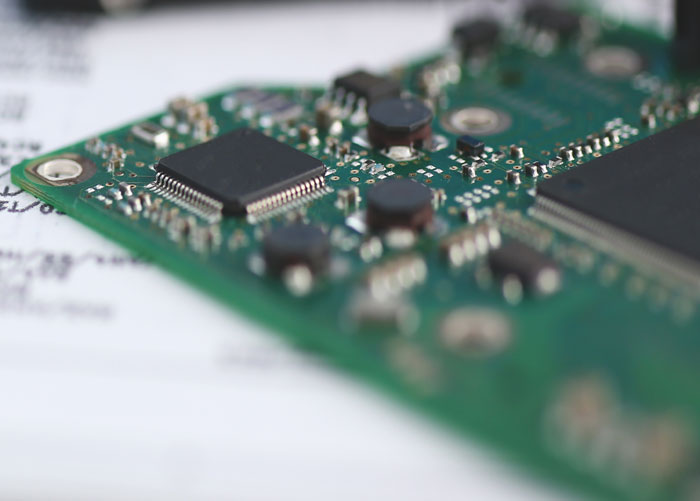
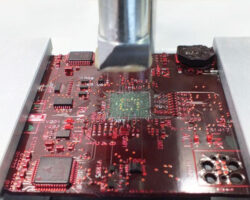
Our expertise encompasses not just individual components, but full assemblies and entire product systems as well. In this we support our customers by evaluating their processing quality in accordance with IPC-A-600 and IPC-A-610, along with several other standards. Both newly produced as well as assemblies and devices from field use are tested for damage in our analytics department. Our customers receive detailed analysis reports, interpreted by our engineers.
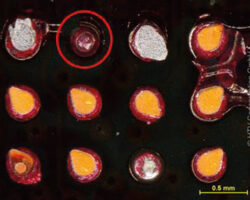
An x-ray analysis is most commonly used at the HTV laboratory to evaluate solder joint quality. This non-invasive method may additionally be paired with invasive methods like a micro section analysis or a Dye & Pull test, if required.
Testing Construction Materials

The collapse of roofs, bridges or entire houses is usually caused by materials of inferior quality or a flawed calculation of their minimal endurance. Characteristics like strength, mutability, solderability or corrosive qualities are especially important in this regard.
Mechanical characterization

In addition to the qualities of electronic components, the mechanical characteristics of construction materials are of great importance for us at HTV. Our main areas of interest are strength verification, component examination and standard material testing.
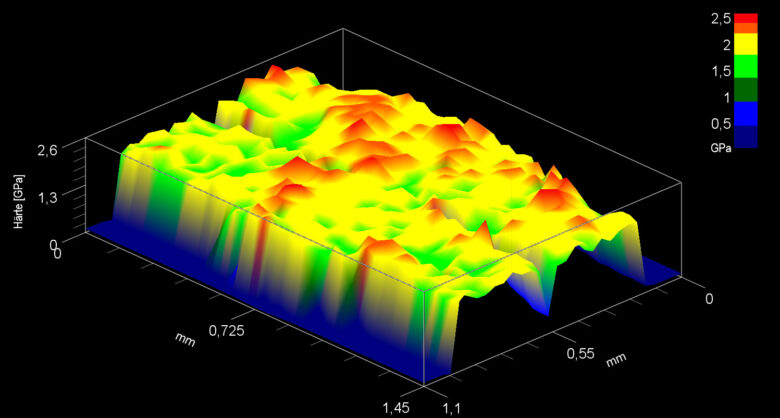
In regards to the processability and usability of construction materials it is often important to know their strength and strain hardening ability, which we determine and interpret via pulling tests. One method to measure a characteristic related to strength is the hardness test. Using nanointendation the hardness can be measured as a function of position and depth of penetration. Given this method’s high resolution, it is possible to measure the hardness of very thin galvanic layers, beginning at a layer thickness of 1 µm. If necessary, we provide the development of a mechanical analysis process suited to customized requirements.
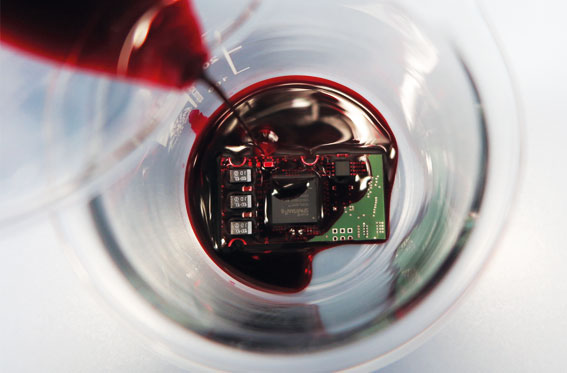
The Dye & Pull test is used to analyse the integrity of solder joints. The joints in question are first dyed and then mechanically strained up to their breaking point. Any fractures in the joints that existed prior to the test are now covered in dye and become visible under an optical microscope.
We can provide you with the development of a mechanical analysis process suited to your needs.
Metallography
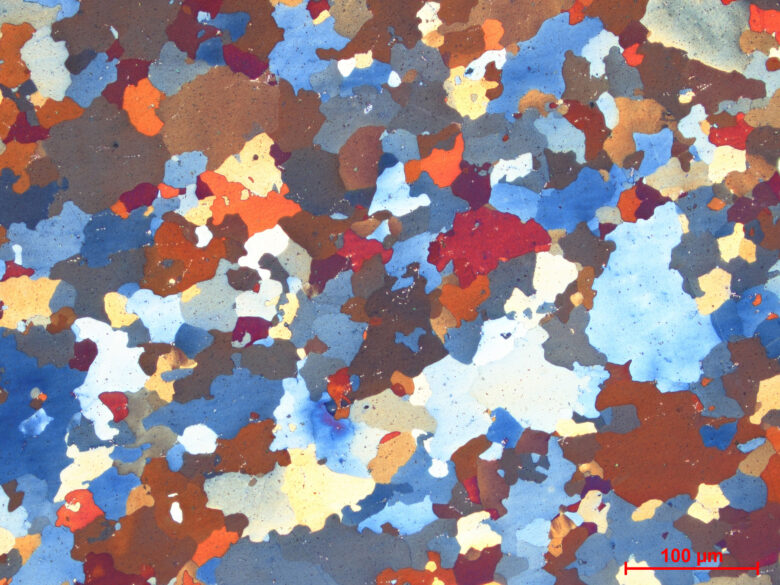
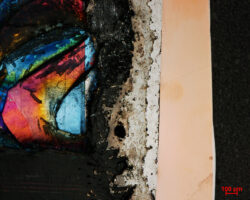
Influencing a material’s inner (crystalline) structure in a deliberate manner changes its properties. HTV has access to multiple state-of-the-art methods of micro sectioning to analyze this. Chemical etching unveils the materials’ structure in order to evaluate important characteristics such as grain size, segregation and texture. Using the ion etching process MetaFinePrep® even rather difficult material combinations, as may be present in solder joints for example, can be analyzed this way under an optical microscope. Often, an REM/EDX analysis is used additionally for structure characterization in order to analyze very small structures and determine their chemical composition.
It is recommended to measure the hardness with nanointendation in addition to the usual structure analysis. This can determine a correlation between structure and hardness, so that the hardness of individual structure phases may be examined which in turn makes it possible to, for example, identify dangerous brittle components.
Fractography or the science of deterioration
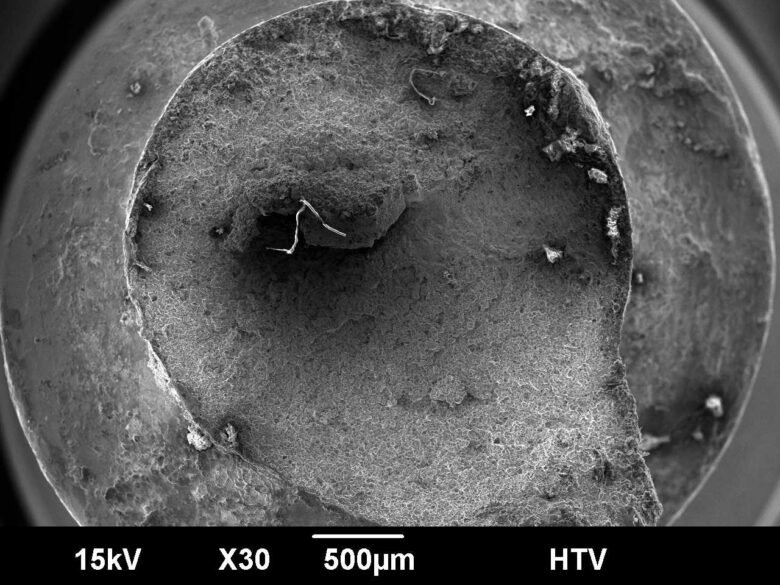
Component failure can usually be traced back to using or straining the component improperly, or worse, flaws in the material itself. The most common question in this case: what is the cause of said failure? Fractography is therefore an essential component of HTV’s damage analysis.
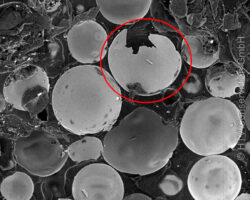
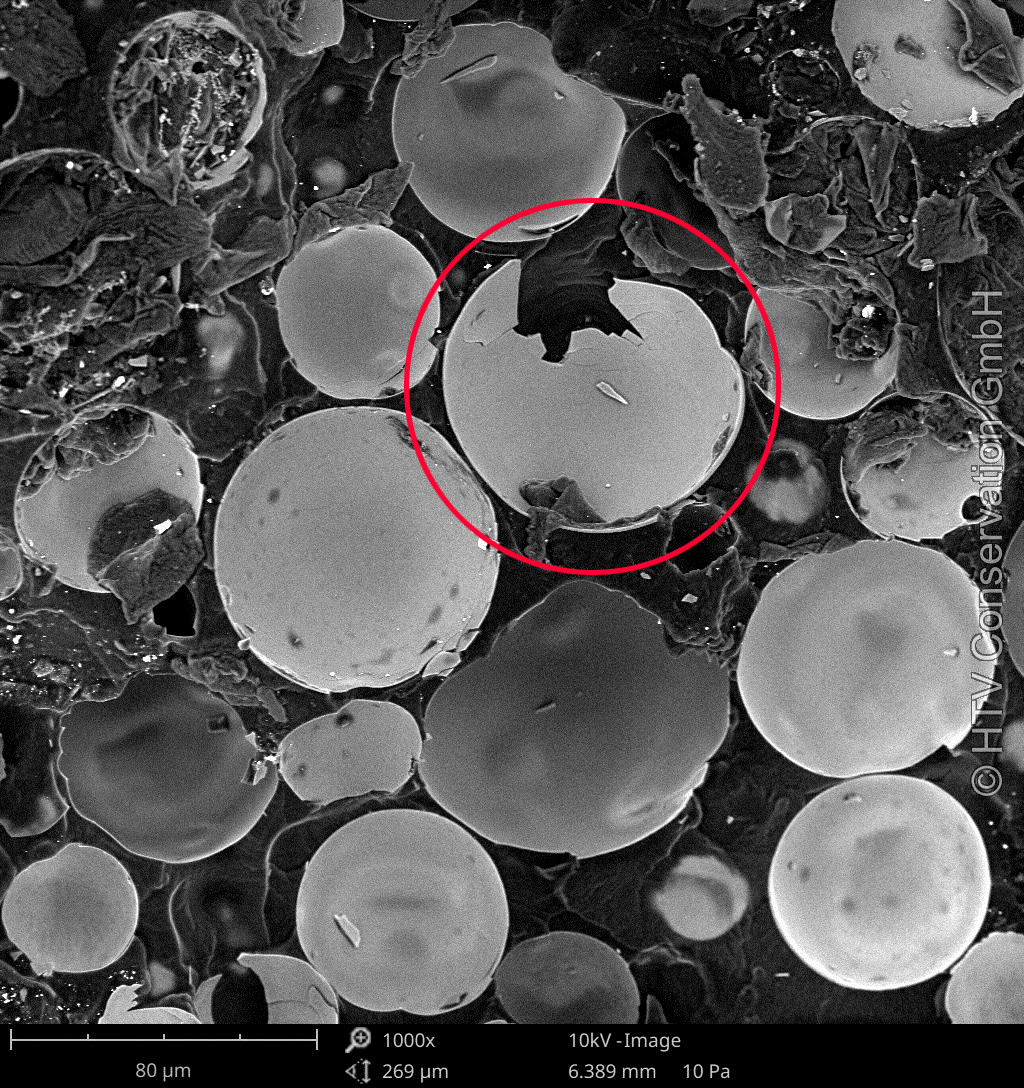
First, the fracture surface is examined under an optical microscope in order to document its position and appearance as well as possible corrosion products. Additionally, an REM analysis will make even the smallest structures on the fracture’s surface visible to deduce the type of component failure (vibrational fracture, hydrogen embrittlement, ductile fracture). This analysis is often combined with other analytical methods in order to get a complete view of the individual failure, e.g. metallographic analysis or mechanical characterization.

